Hair Progress Photo Checklist: Track Growth That Counts
Use this hair progress photo checklist to track real growth effectively. Capture consistent images monthly and see your hair's true transformation.
A hair progress photo checklist is a structured system for capturing consistent, repeatable images that make real hair changes visible over time. Without standardized conditions, photos taken weeks apart can look dramatically different due to lighting shifts, wet hair, or camera angle changes — none of which reflect actual growth. Clinical guidelines and hair transplant specialists consistently recommend monthly photo documentation as the most reliable method for tracking hair density changes. Folicle is built around this exact principle: that structured, comparable photos remove guesswork and give you a clear, honest picture of where your hair is headed.
1. What to include in your monthly hair photo routine checklist
A monthly hair photo routine checklist works only when every session follows the same rules. Variation in any single element, such as lighting, distance, or hair condition, can make real progress invisible or create false impressions of change.
Use this checklist for every session:
- Same room, same spot. Mark your floor position with tape if needed. Consistent distance from the camera matters as much as angle.
- Same light source. Use one fixed light, not a mix of window light and overhead bulbs. Mixed light sources are the single most critical factor that distorts hair progress comparison.
- Multiple standard angles. Capture front, crown, left temple, right temple, and hairline every session. Effective photo protocols recommend these five views as the minimum for complete documentation.
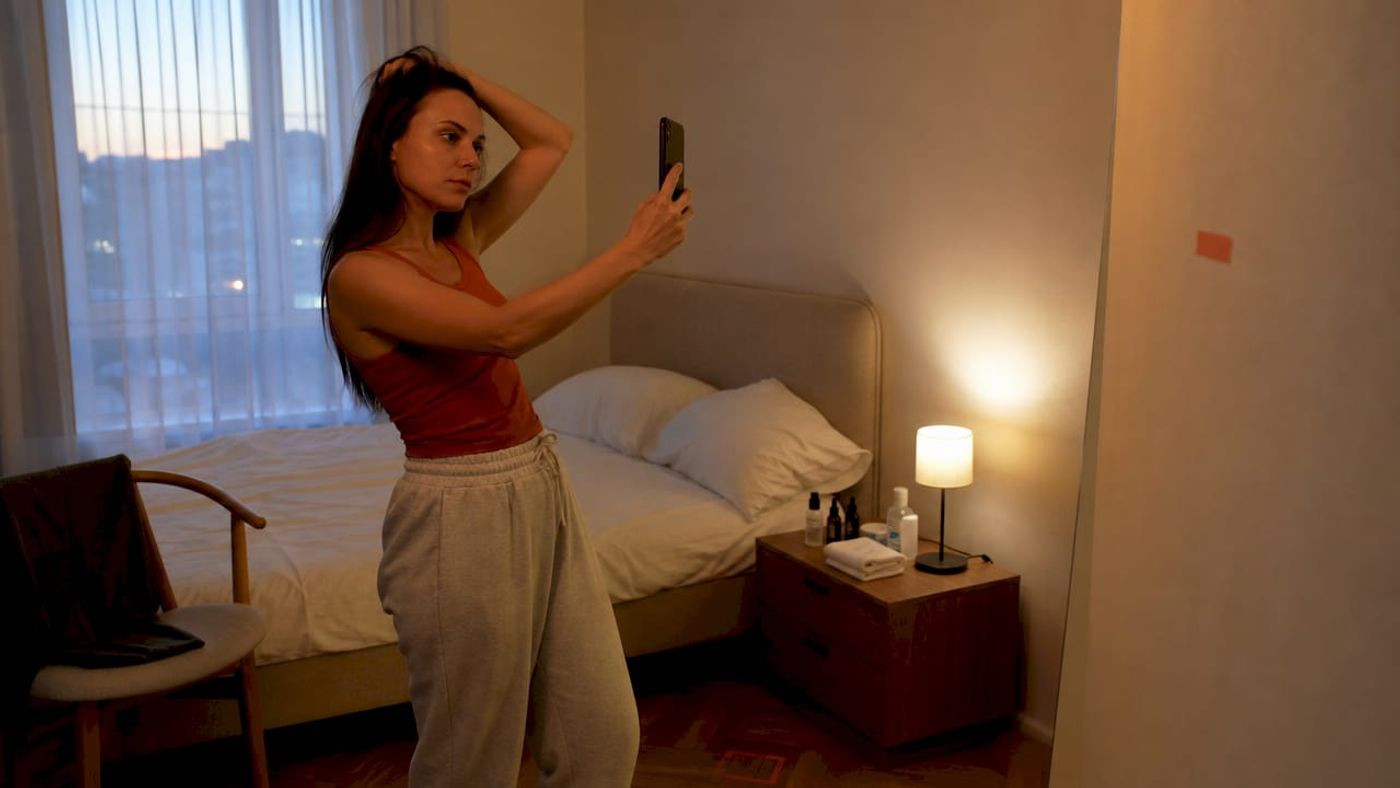
- Clean, dry hair. No styling products, no wet hair. Wet or product-heavy hair skews density perception and makes before-and-after comparisons unreliable.
- Fixed camera height. Hold your phone at the same height each time, or use a tripod. Even a few inches of difference changes how the hairline appears.
- Timer or helper. Self-timer or a second person keeps the shot steady and removes camera-shake blur.
- Locked monthly date. Pick a recurring date, such as the first Saturday of each month, and stick to it. This reduces emotional overchecking between sessions.
Pro Tip: Tape a small piece of colored tape on your bathroom floor and a mark on the wall at camera height. This takes 30 seconds to set up and eliminates position drift across months.
2. How to standardize lighting and angles for accurate comparison
Lighting is the variable most people underestimate. A photo taken near a sunny window at noon looks completely different from the same scalp photographed under a bathroom bulb at night. That difference has nothing to do with your hair.
Artificial flat lighting at 5600K provides more reliable consistency than natural daylight, which shifts with weather and time of day. Professional practitioners use fixed artificial light specifically because it stays the same across months-long tracking periods. A ring light or softbox set to 5600K (daylight color temperature) costs less than one dermatologist visit and pays off in photo accuracy.
Here is how natural and artificial light compare for hair tracking:
For camera position, place your phone or camera on a tripod or a fixed shelf. Mark the exact spot. Shoot from the same height and distance every time. Even a slight upward or downward tilt changes how much scalp shows through the hair, which directly affects how density reads in the photo.
Pro Tip: Using the same lighting setup every time matters more than expensive camera gear. A $30 ring light beats a $1,000 camera used in inconsistent conditions.
3. Tips for managing hair state and styling during photo sessions
Hair condition on photo day is as important as lighting. The same scalp can look significantly thinner when hair is oily, wet, or styled forward to cover thinning areas.
Follow these rules for every session:
- Always photograph dry, clean hair. Wash your hair the night before or the morning of your session. Avoid photographing immediately after washing, since hair can still look slightly damp and flat.
- Use minimal or no styling. Avoid blow-drying in a direction that adds volume or covers thinning spots. Let hair fall naturally.
- Never comb forward. Styles that sweep hair over the hairline or crown hide the exact areas you need to track. Pull hair back or part it the same way every time.
- Document product changes. If you switch shampoos, add a new supplement, or change wash frequency, note it alongside your photo. These changes affect how hair looks and can confuse your timeline if unrecorded.
- Note scalp condition. Redness, flaking, or irritation affects how the scalp reads in photos. A brief written note takes 20 seconds and adds real context.
Pro Tip: Take your photo before styling for the day, not after. Post-styling hair introduces variables you cannot control or repeat.
4. How to integrate symptom and timeline tracking with your photo checklist
Photos alone tell only part of the story. A photo diary for hair becomes genuinely useful when paired with notes on what was happening during each session.
Record these data points alongside every photo set:
- Treatment start date and any dosage changes. If you use minoxidil or finasteride, log the exact date you started and any adjustments. This anchors your photos to a treatment timeline.
- Shedding patterns. Note whether shedding feels heavier or lighter than the previous month. Shedding typically peaks between weeks 4 and 8 of treatment. Knowing this prevents panic and premature treatment changes.
- Scalp symptoms. Log itching, burning, or tenderness. These symptoms often correlate with specific growth phases and help distinguish a normal response from a problem.
- Breakage versus shedding. Breakage produces short, uneven strands. Shedding produces full-length hairs with a white bulb at the root. Noting which type you observe adds clinical detail to your record.
- Emotional state. This sounds optional, but it is not. Anxiety spikes often lead to impulsive decisions about treatment. A brief mood note helps you see patterns between emotional state and how you interpret your photos.
Tracking timelines, shedding patterns, and symptoms alongside photos presents a clearer picture than photos alone. It distinguishes normal treatment phases from genuine setbacks, which is the difference between staying the course and abandoning a treatment that was actually working.
5. How often and when should you take hair progress photos?
Monthly photos, taken roughly every four weeks, give the best balance between capturing real change and avoiding emotional noise. Hair grows approximately half an inch per month. Visible density changes take longer to appear. Daily or weekly photos create a false sense of stagnation or alarm because the intervals are too short to show meaningful difference.
Follow this timing framework:
- Every four weeks. Set a recurring calendar reminder. Consistency in interval matters more than the exact date.
- Same time of day. Morning light and evening light differ even indoors. Choose a time and repeat it.
- Post-wash, not post-style. Clean, dry hair photographed before any styling gives the most neutral baseline.
- Milestone reviews at 3, 6, 9, and 12 months. Reliable progress photos taken at 9 to 12 months reflect true growth. Early photos at 3 to 6 months may mislead because hair growth cycles are still in early phases.
- Avoid checking between sessions. Monthly structured photos reduce emotional decision-making. Daily mirror checking worsens anxiety without adding useful data.
Monthly photos in controlled, repeatable setups outperform frequent, random checks at capturing meaningful progress. The goal is a reliable hair care timeline, not a daily emotional report card.
Key takeaways
A structured hair progress photo checklist, combining consistent lighting, fixed angles, clean hair, and monthly timing, is the most reliable method for objectively tracking hair density changes over time.
Why boring consistency is the most underrated part of hair tracking
People ask me what the most common mistake is in hair progress tracking. The answer is not bad lighting or wrong angles. It is impatience dressed up as diligence.
Most people start with good intentions. They take a photo in week one, another in week two, and by week six they are comparing photos taken in three different rooms under four different light conditions. Then they decide the treatment is not working. The photos told them nothing useful, but they acted on them anyway.
The structured photo checklist feels tedious precisely because it works. Boring repetition is the point. When every session looks identical in setup, the only thing that changes is your hair. That is when the data becomes trustworthy.
I have seen people abandon minoxidil during the shedding phase at weeks 4 through 8, which is the exact period when the treatment is doing its job. A photo record with symptom notes would have shown them that the shedding was normal and temporary. Without that record, the decision felt rational. With it, the decision would have been obviously premature.
Removing emotional bias through structured photo tracking helps people follow treatments patiently and with confidence. That is not a minor benefit. For a condition as emotionally charged as hair loss, it is the whole game.
— Lungu
Folicle makes your photo checklist automatic
Keeping a consistent photo checklist is straightforward in theory and easy to let slip in practice. Folicle removes the friction by building the checklist into the app itself.
Every time you open Folicle for a session, it guides you through the same five standard angles with alignment overlays so your framing stays consistent without measuring tape or guesswork. The app logs your photos into a structured growth timeline automatically, so you can compare any two months side by side. AI-driven normalization adjusts for minor lighting differences, giving you a fair comparison even when conditions are not perfectly identical. You can also log treatment notes, shedding observations, and medication changes directly alongside each photo set. Explore Folicle’s hair growth tracking guides to see how the full system works, from your first photo to your 12-month review.
FAQ
What is a hair progress photo checklist?
A hair progress photo checklist is a structured set of rules for capturing consistent, repeatable photos to track hair density changes over time. It covers lighting, camera position, hair condition, angles, and session frequency.
How often should I take hair progress photos?
Take photos every four weeks. Monthly intervals capture real growth without creating the emotional noise that comes from daily or weekly checking.
Does lighting really affect how my hair looks in photos?
Yes, significantly. Inconsistent lighting changes how density and texture appear, making the same scalp look thicker or thinner with no actual change. A fixed artificial light source at 5600K eliminates this variable.
Should I track symptoms alongside my photos?
Tracking symptoms alongside photos is strongly recommended. Shedding patterns, scalp irritation, and treatment changes add context that makes your photo record far more useful for identifying what is actually happening.
When will I see real results in my photos?
Meaningful progress typically becomes visible at 9 to 12 months. Photos taken at 3 to 6 months may show early signs, but they can also mislead due to the natural shedding and regrowth cycle of hair follicles.